Line of Life
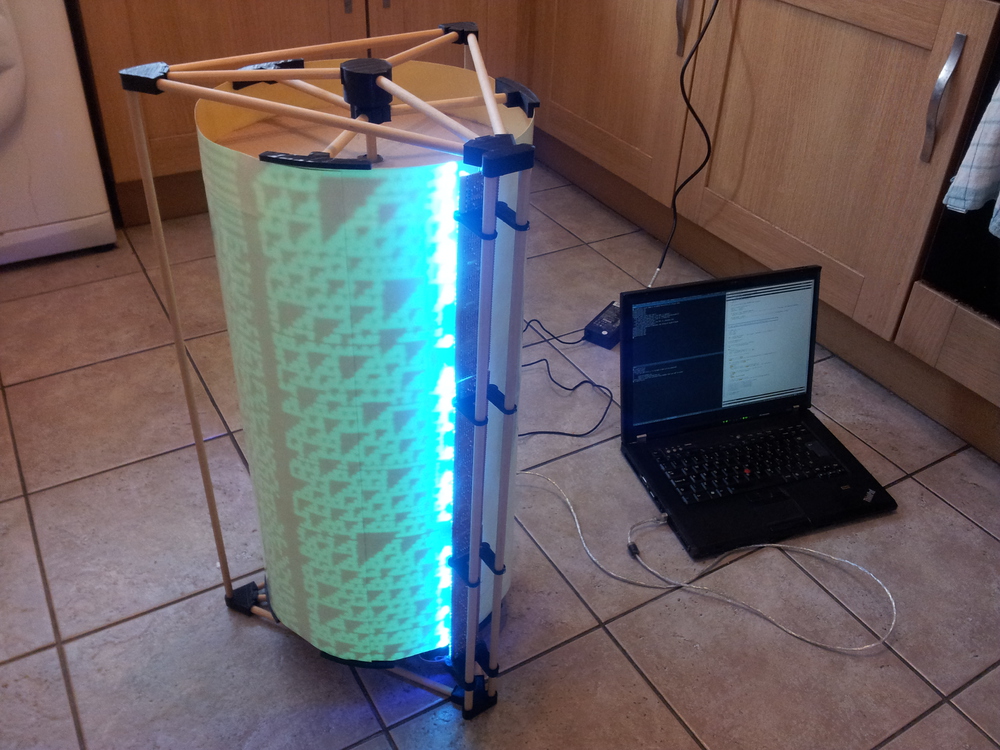
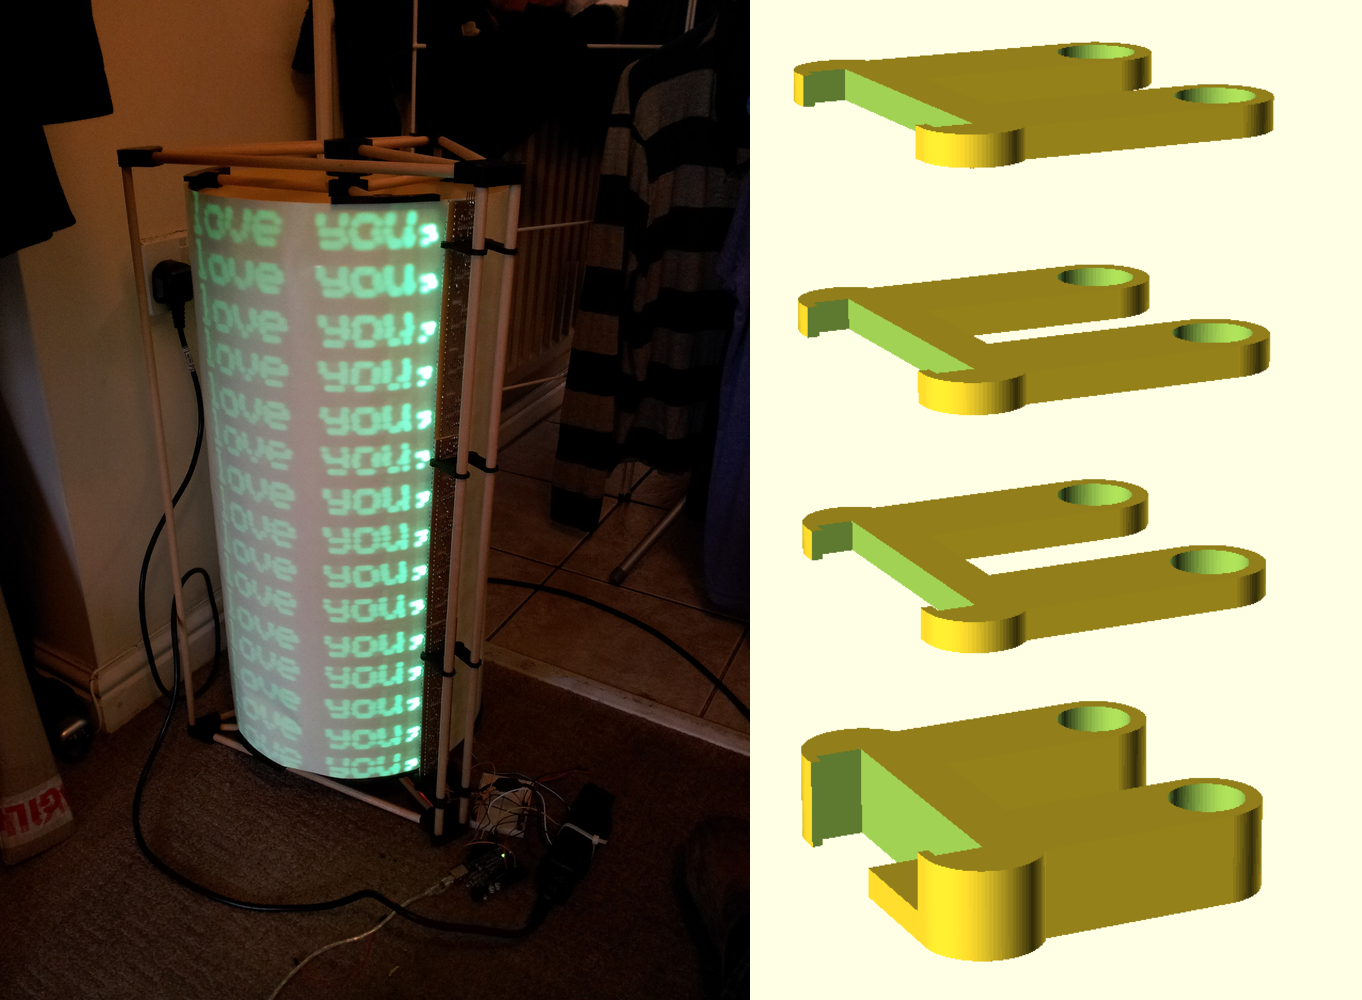
Line of Life is an unconventional computer display consisting of a large, slowly rotating glow-in-the-dark drum which is 'charged up' using 120 ultraviolet LEDs. The display has been donated to the School of Computer Science at the University of Manchester and is intended to explain the principles of celular automata to random passers by.
Proving the Concept
The display is based on the observation that glow-in-the-dark emergency signs glow very brightly (to the point of being visible in daylight) when exposed to intense light, for example from a mobile phone's camera flash LED. Casual measurements suggested that the glow also has a half-life of around 30 seconds, that is, it becomes half as bright every 30 seconds. This means that it stays lit long enough for messages to be easily read but quickly enough that new messages can be clearly written over-the-top of the old ones after only a short delay.
Following this serendipitous discovery, a quick check of ebay confirmed that in fact large rolls of glow-in-the-dark material can be bought without too much expense. Additionally, LEDs can (incredibly) be bought for around one penny each including postage.
Driving 120 LEDs
Shortly after the 60cm wide, 1 meter long glow-in-the-dark plastic sheet and 200 ultra-violet LEDs (which legions of other hackers' research suggested would do the best job) arrived, I hit a snag. I had hoped that I could simply use a pair of 8x8 LED matrix driver chips (such as the MAX7219) to drive the 120 LEDs needed to span the width of the plastic and yet when I held a few lit LEDs against the plastic it hardly glowed at all!
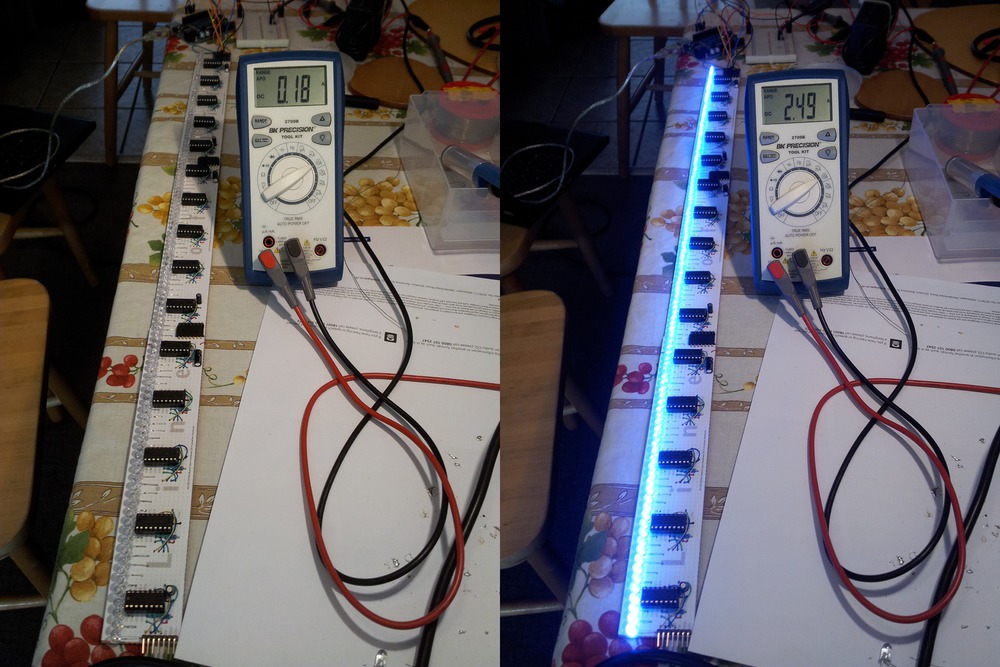
These LED driver chips are typically used to drive 64 LEDs "simultaneously" for large LED signs such as those found in train-stations. Unfortunately, in order to do this, they cheat by only lighting 8 of the 64 attached LEDs at any one moment, saving lots of wiring (and money). It gets away with this trick by lighting each group of 8 LEDs in sequence fast enough that the human eye can't tell that the LEDs are actually flickering and switched off seven-8ths of the time. As a result, the LEDs are actually barely putting out any light and thus weren't able to light up the plastic. Driving a single LED in the usual way (with a resistor for current limiting) luckily confirmed this theory when the plastic immediately glowed brightly.
Alternative traditional way of driving large numbers of outputs is to use shift registers. These devices can be daisy-chained together to allow the control of an unlimited number of outputs such as LEDs. Unfortunately, the cheap and widely available 7491 shift register can only sink a pitiful amount of current before blowing up meaning that using them to drive the relatively power-hungary UV LEDs was not an option. As a result I settled on Texas Instruments' TLC5916 shift register which also features a built in constant current LED driver.
The built-in constant current feature of the chosen shift registers meant that not only did I save myself 120 power-wasting resistors but I could also run the LEDs straight off the 12V supply driving the project without wasting further power and expense on a high-current voltage regulator.
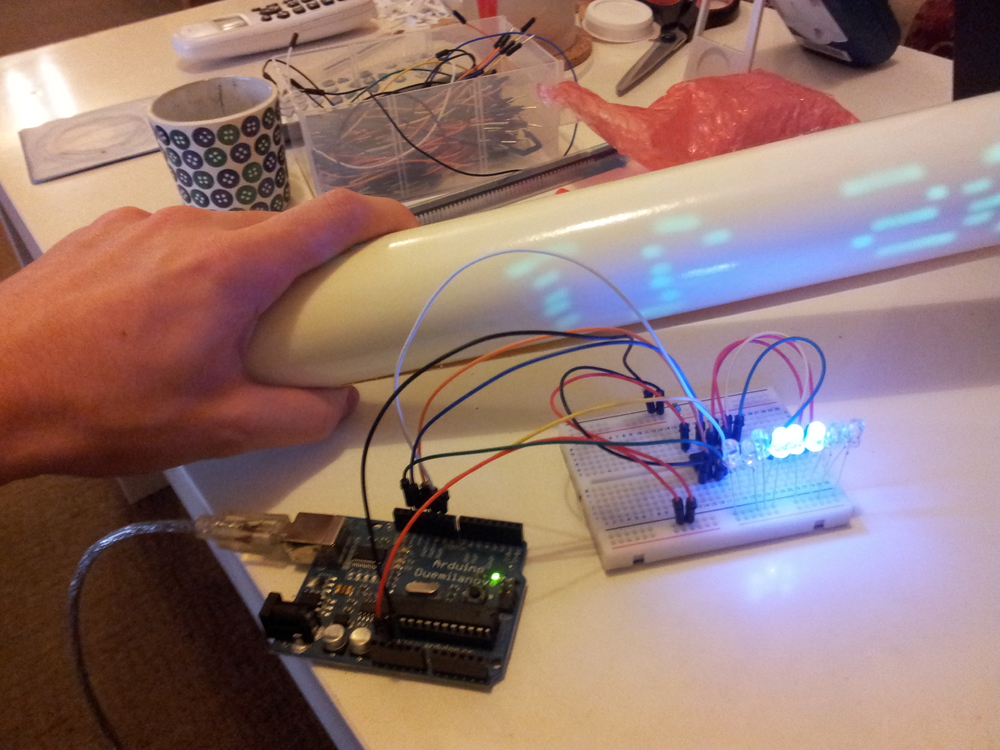
One quick-hack Arduino sketch and a messy breadboard later and the first pixels finally began to glow eerily from my roll of plastic!
Frame Construction
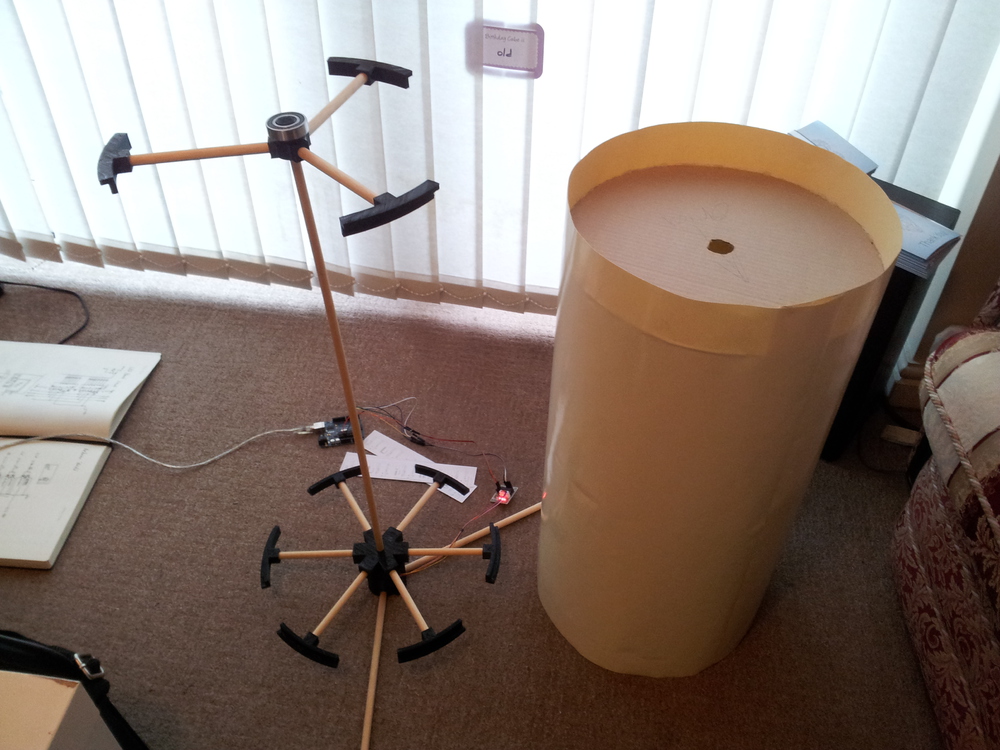
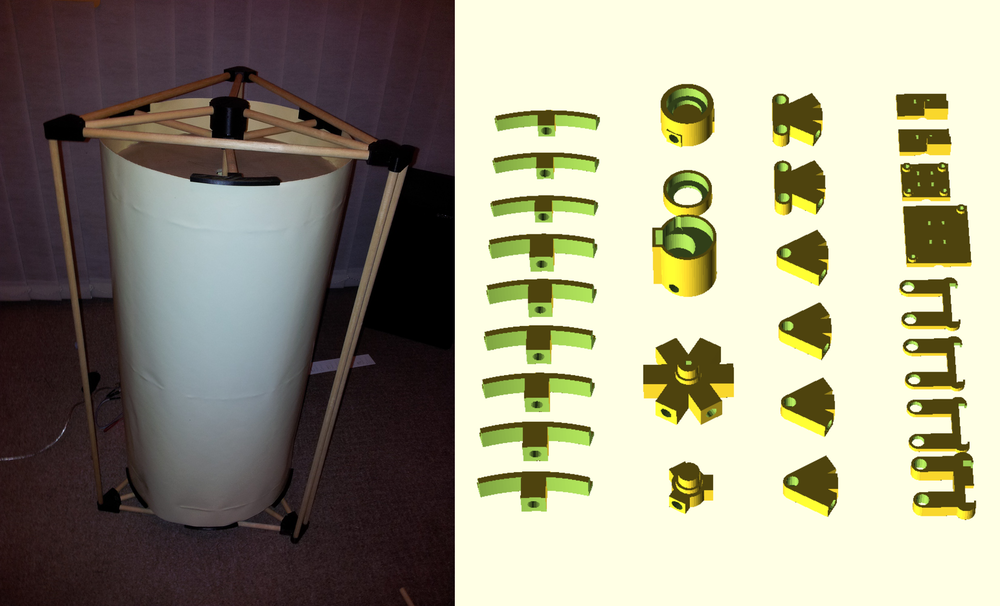
The display is principally constructed from dowel rods and various custom 3D printed1 joints and mountings, a construction technique I'm very suprised isn't more widespread. Dowel rod is very cheap (pennies per meter) and easy to find both online and on the highstreet. It is also very easy to work with requring only a simple saw. Before considering this tehcnique I was considering using aluminimum extrusion such as MakerSlide, but alas, in practice, it seems phenomenally expensive to source in the UK, especially in sufficient quantites for the target drum size of around 60cm. Since everything in the project was going to be very lightweight and not under any real physical stress the plastic and dowel choice seemed like the sensible option.
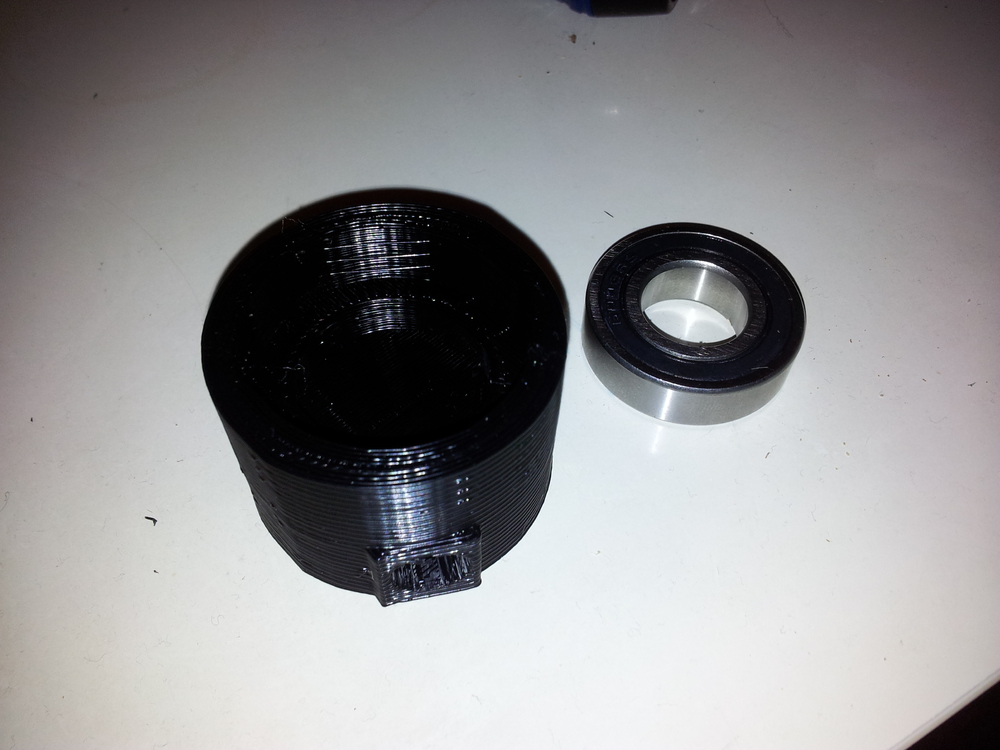
The use of 3D printed parts also made positioning things like the off-centre axle of the cheap stepper motor perfectly centrally very easy. Additionally it allowed me to add friction-fit mountings for some inexpensive rotary ball-bearings from ebay to keep things smooth.

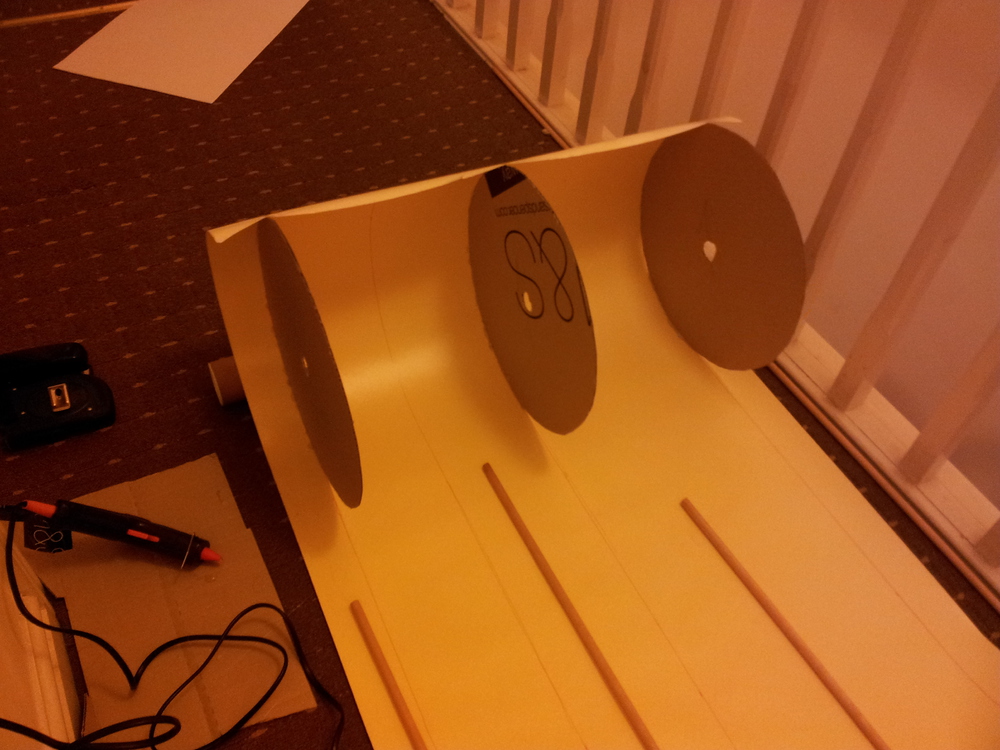
The display itself was bought on a roll and needed to be formed into a large cylinder. Since I didn't have an existing large cylindrical object at hand I opted to simply build a series of cardboard disks around which the display could be hot-glued.
Since the plastic sheet is fairly stiff and light, the whole cylinder is supported by the 3D printed radial shelves. This proved a rather elegant way of supporting the display since it directly supports the display itself while also not requiring any permanent attachment making for easy disassembly and adjustment.
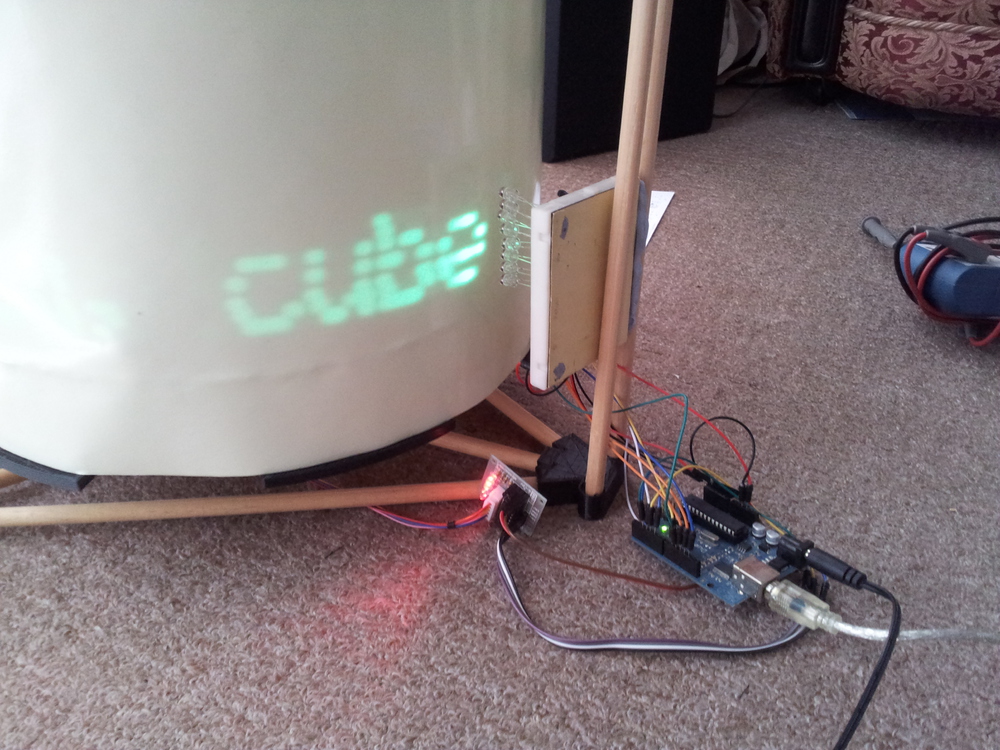
To test out the mechanical side of the build, the breadboard prototype reappeared to shine a very small message on the display. Though the cheap stepper and its built in gearing results in occasionally very slightly jerky movement, the output is not noticeably affected. This is a relief as it avoided a lot of trouble in potentially designing an alternative custom drive system.
Display Electronics
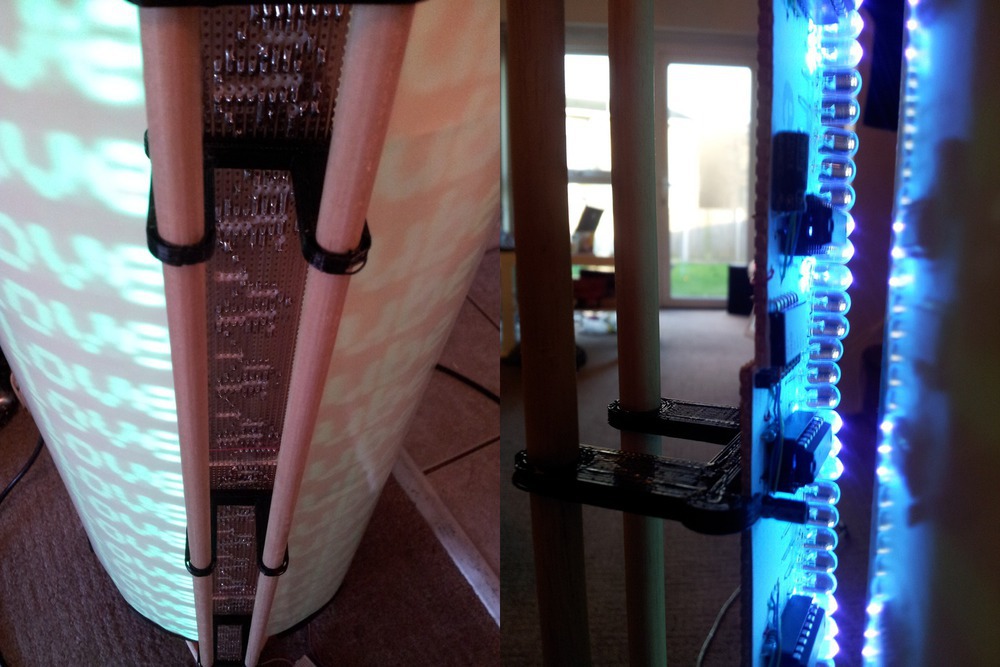
The 120 LEDs spread along the display are split into three boards containing 40 LEDs each. The boards were built on strip-board and feature a printed paper face which serves both to improve appearances and also guide assembly. Again, this is another simple technique I'm surprised isn't more widely used.
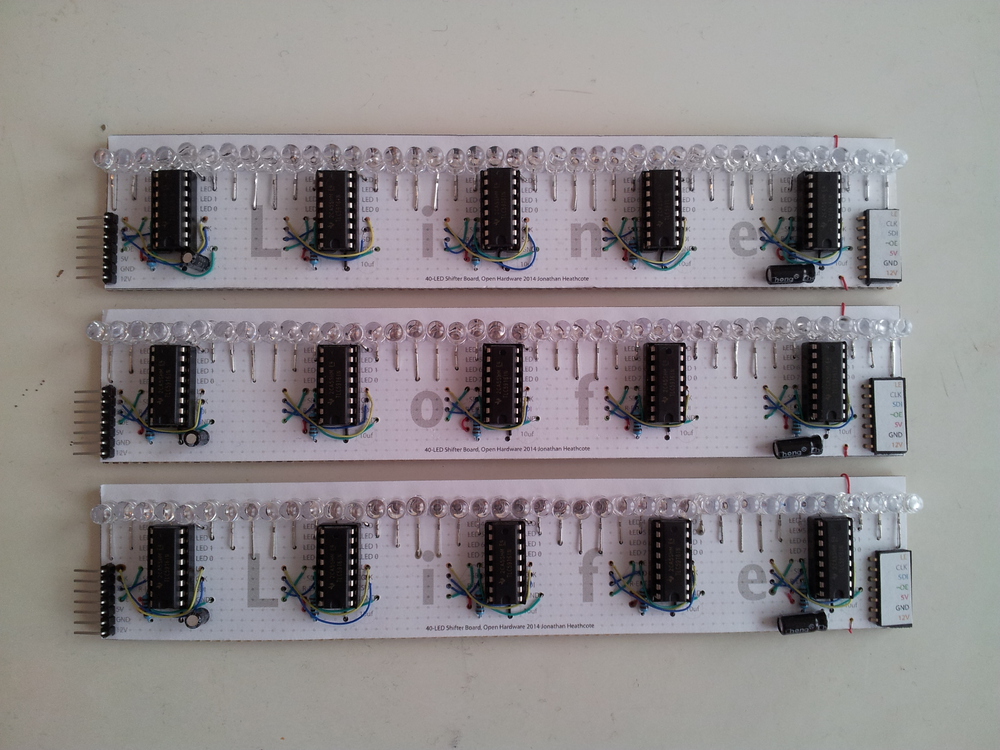
Since each board is just a chain of shift registers, I designed the connectors such that the boards can be daisy-chained directly and power and data signals simply flow through as many boards as are put together2.
With the LED strip complete it needed mounting onto the frame. A set of 3D printed brackets were produced to hold the LED strip at the appropriate distance from the display. The bottom bracket features a shelf to support the strip as well as a gap for a ribbon cable to connect to the strip.
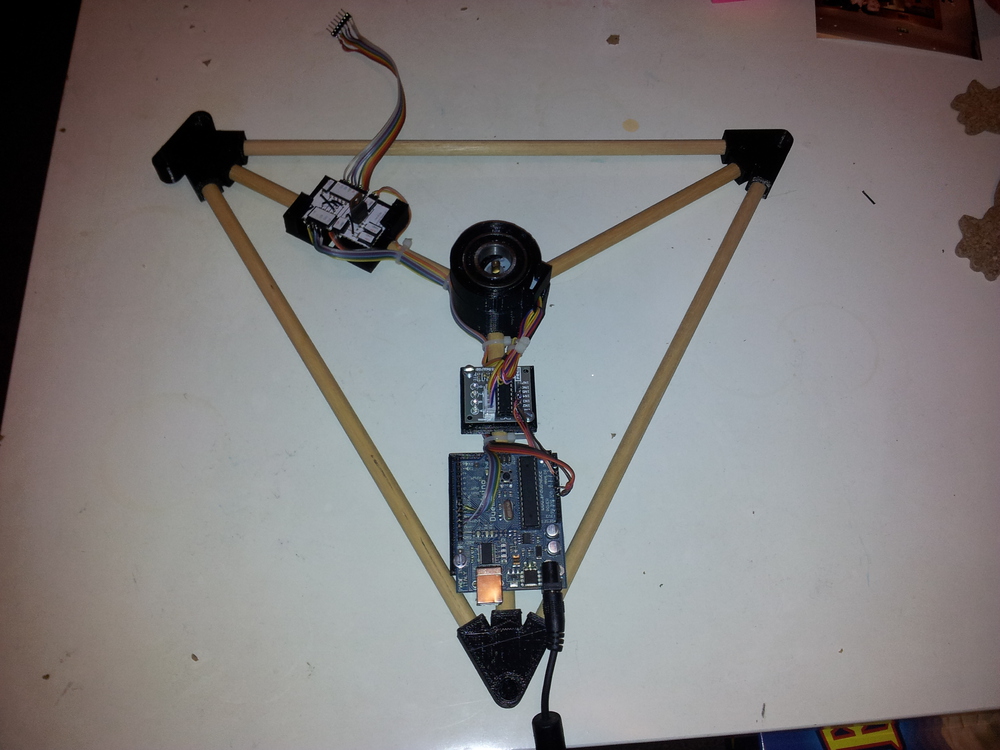
Next came the tidying up of the other electronics. This consists of:
- An Arduino
- The stepper-motor controller board (which was included with the cheap stepper motor)
- A 12 V to 5 V DC-DC converter (not shown in the pictures) harvested from a in-car mobile phone charger. This was needed since the shift registers and stepper both required 5 V and draw enough current to make a standard 5 V regulator extremely hot.
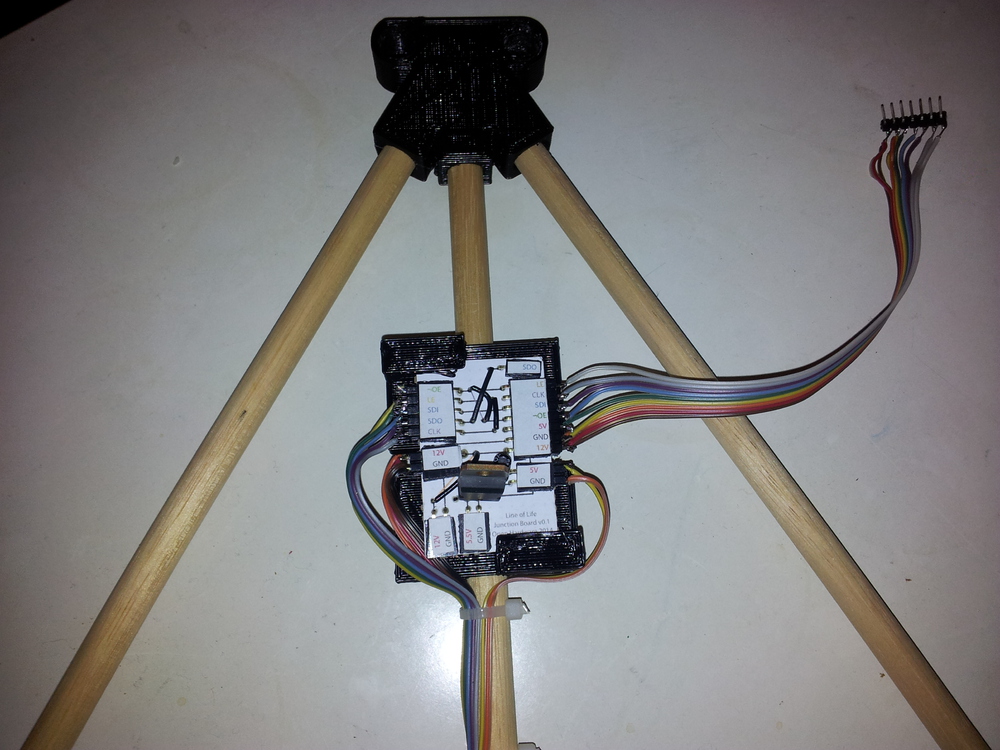
I made a small perf-board junction board (complete with a paper-top) and a set of 3D printed mounts for each of the various boards. Some rainbow ribbon cables and cable-ties later and everything was nicely mounted under the display.
User Interface
Hopefully coming in the near future will be a web interface and button pannel to allow passers-by to experiment with the automata on the device.
Bill of Materials
| Item | Supplier | Cost |
|---|---|---|
| 200× Ultraviolet LEDs | ebay | £4.72 |
| 15× TLC5916 Shift Register | Farnell | £16.65 |
| 15× 16-pin DIP Socket | Farnell | £2.30 |
| 24in by 1m (yep, mixing units) glow-in-the-dark plastic | ebay | £29.99 |
-
It is also the first 'serious' thing I've actually done with the 3D printer I worked on in my undergraduate 3rd year project. ↩
-
It should be noted that this set up isn't entirely kosher since all the power for the LEDs is passed through a chain of standard header pins which probably aren't rated for the job, but since all is well for the moment, I'm naively leaving it as is. ↩